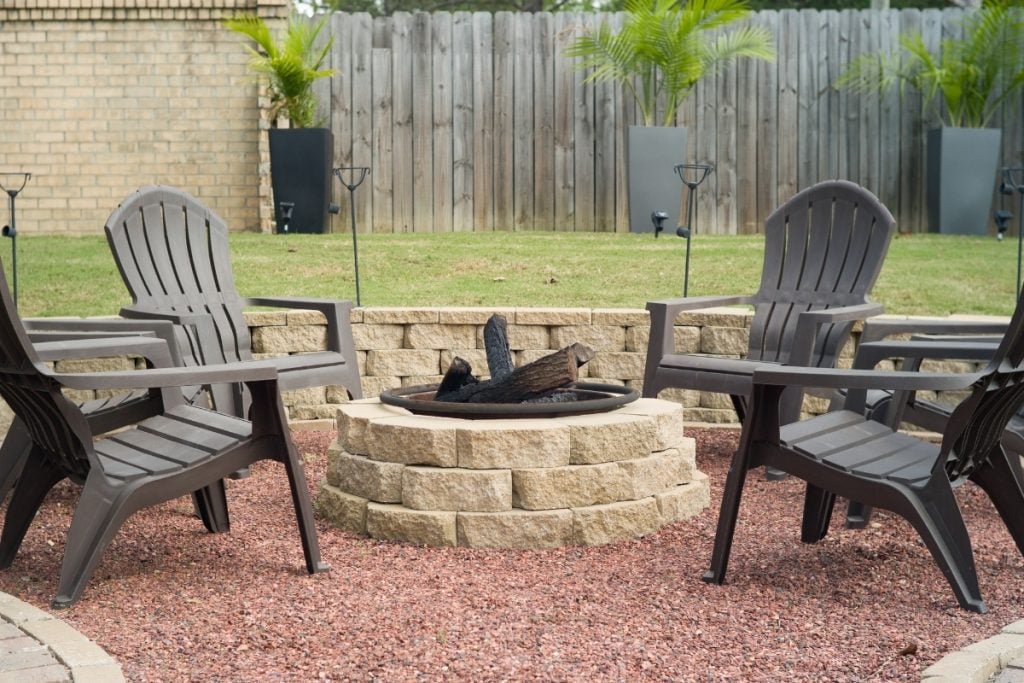
Fall is almost here but let’s be honest, that won’t stop us Southern Californians from being outside. Outdoor living doesn’t have to end when the leaves start to drift from the trees. Not ready for the backyard party to stop? Neither are we!
It’s the perfect time to fan the flames on your outdoor entertaining game by building your own firepit. As we head into the “colder” months, a backyard firepit might be just the thing to transition your family fun to fall and winter-centric activities, while keeping your socal spirit alive. Outdoor firepits have all of the excitement and inviting qualities of an indoor fireplace combined with the versatility of an outdoor feature. Here’s how to get started:
Materials
As with most DIY projects, there’s a definite range of firepit options that stretch from practical to luxurious. It’s best if you decide on the scope of your project right from the start.
Obviously, you need to buy fireproof materials to begin with. Your local home improvement store can point you in the right direction. Most likely you’ll be looking at pavers, the same materials you’ve seen your neighbors using to upgrade their planter beds, walkways, and patio spaces. Pavers start on the low side of the price scale and rise with your level of taste or decorative vision. It’s really up to you.
If you’re looking at a rugged style firepit with wood as your fuel of choice, your building materials begin and end here and can range from a little over $100 to about $500 or more for top-of-the-line materials. If you want to add a gas line, you may want to enlist professional help. A basic paver style wood-burning firepit doesn’t require mortar, professional brick laying skills, or elaborate plans, just some basic measurements, stacking skills, and an eye for detail.
Plan Your Space
As with planning any new outdoor feature, make sure your design fits your backyard footprint. This is a good time to take a hard, honest look at the space you’ve been eyeballing, and make sure there’re no flammable tree branches or low lying structures that could make your plans for evening fun go up in smoke.
Once you’re free of possible pyrotechnic complications, decide on your design. Most people choose square or circular options due to the shape of the pavers available at most stores. A design with right angles will give you the most flexibility when it comes to size and scope, while a circular design will have to be adapted to fit the outlines of your pavers of choice. Looking for some design inspiration? Check for examples on Pinterest or Houzz.
When you’re still in this flexible planning stage, it’s good to invest in enough pavers to create a project outline in the area where you’re planning to build. This will help you with the measurements, estimates for the total amount of materials you need to buy, and the scope of how your firepit fits in your yard. What’s wonderful about the DIY nature of pavers is that they stack and lock in place by nature. Also, they’re both fireproof and don’t have sealed seams that can flood. You don’t want a wildfire, and you don’t want a stagnant pond after a rainstorm.
Lay Your Foundation
Once you have your footprint designed, it’s a matter of digging down, leveling out, and building up. Be sure to have a level handy when you’re digging out your firepit footprint. The success of your entire project hinges on making sure you have flat ground to build on.
Depending on how stable your soil is, you may only need to dig deep enough to sink the fire pit floor pavers to ground level for stability’s sake. From there place the pavers of your choice in a tight weave so all elements are interlocked. Once you’ve completed your design, it’s best to fill in the seams with leveling sand, as this will prevent any kind of foundation shifting. It’s as simple as applying a thin layer over your pavers, then brushing it into the cracks with a broom. From there, fill any dirt, sod or decomposed granite you dug out for your foundation back around your base until it’s level again.
Build Your Interest Piece
A general rule for building up your firepit is to stick with a height of 12-14 inches above ground. This is a great chance to add some depth and creativity to your design by using pavers in multiple colors. From there you can create a design with woven or geometric style patterns. While correctly and levelly stacked pavers create sound structures, you can always add another level of safety and stability by adding landscape block adhesive between each layer of your creation. Once your structure is built, treat it in much the same way you would your fireplace or charcoal grill. Keep it clean, clear out ash after you use it, and don’t let yard refuse like leaves collect in the bottom. The choice of wood you use for fuel is up to you.
No matter what design, shape, or size firepit you decide suits your family’s needs, it’s a relatively simple way to add year-round interest to your outdoor space.


Leave a Reply