You did it. You made it through the rush of the holiday season and into a new year. Hopefully, you are feeling rejuvenated and excited about 2023. The new year brings a fresh start and since it’s the season for setting goals, there’s no better time than now to start organizing your home.
Step 1: Set Aside Time
We suggest 1-3 hours every weekend for the next month. Block the time out on your calendar and make a commitment.
Step 2: Create Three Piles
Throw out, donate, and keep. Use trash bags or bins and make it your goal to have the “keep” pile the smallest. Ask yourself this question every time you’re in doubt about an item: How often do I use this? If the answer is never or once a year, throw it out or donate. If an item is a keepsake or holds sentimental value, this warrants keeping it. However, items like old clothes, books, and dishes are more often than not, better suited to the donate pile.
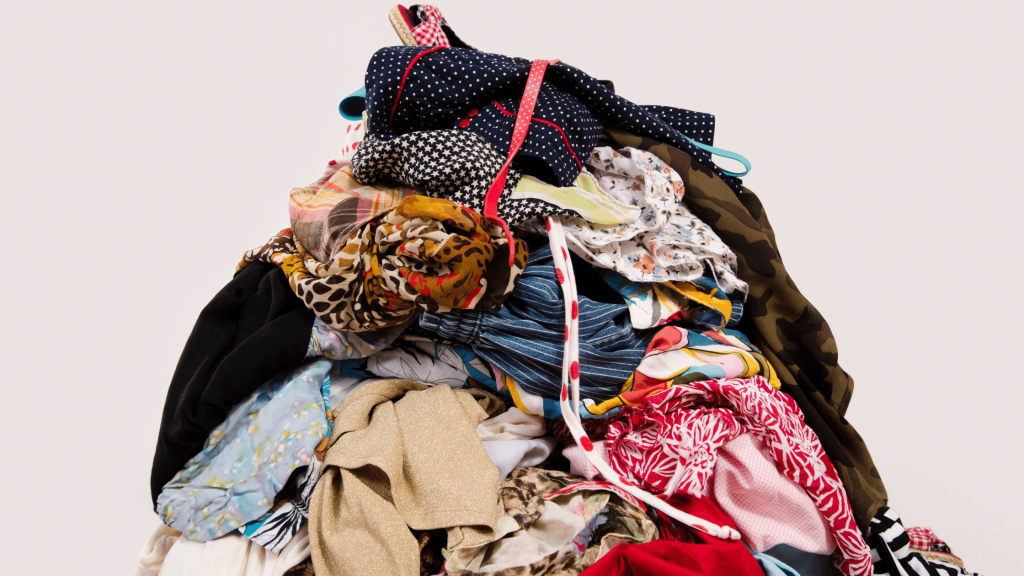
Step 3: Start With Organized Closets
Clothes have a habit of collecting dust over the years, while only a few outfits repeatedly get worn. Host a virtual clothes giveaway party with your friends and give away some of your clothes. You’ll find that getting rid of items you rarely wear brings your friends so much more happiness. Or, find a worthwhile charity in the area and consider donating your gently used clothes to them.
Need help picking a charity? The Shannon Jones Team often works with Mental Health America of Los Angeles, and they are always in need of donations like clothes!
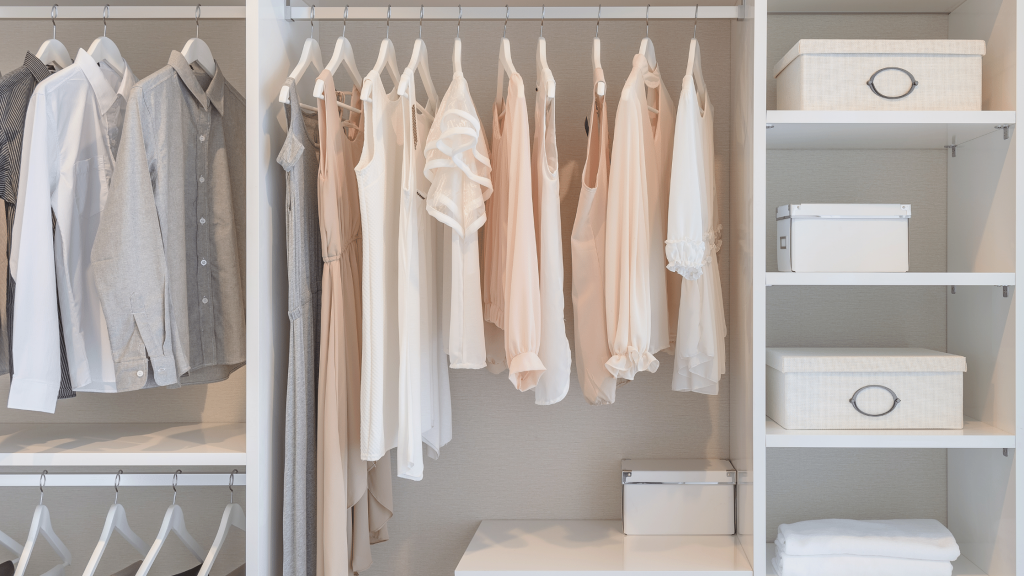
In terms of a wardrobe, remember that simplicity is key. Keep only the items that you truly LOVE and WEAR. If you find yourself with an empty closet after all of your cleaning out, consider turning it into an office. Here’s how.
Step 4: Move On to the Kitchen
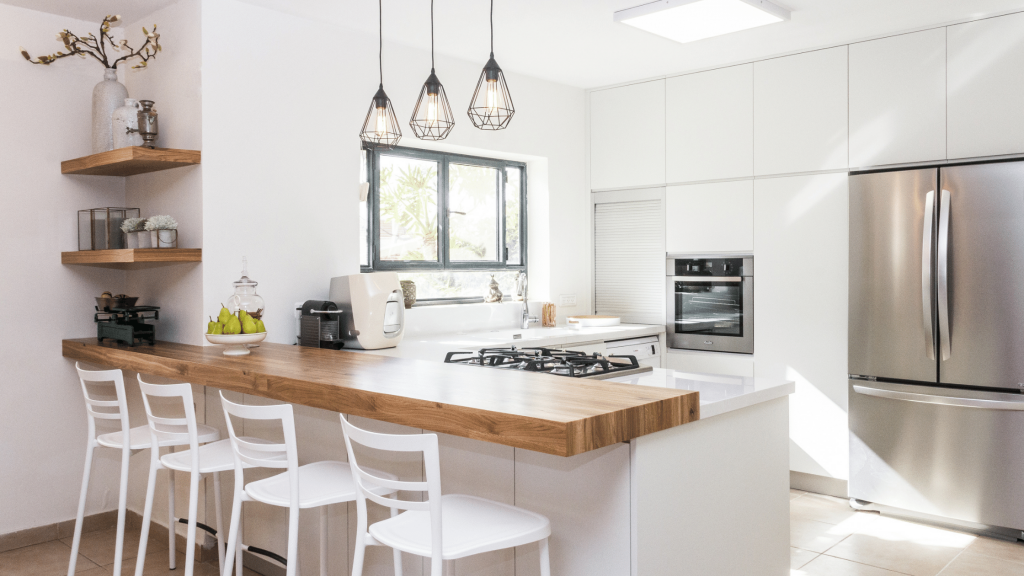
You likely spend a lot of time in the kitchen. However, if you find yourself NOT wanting to spend time in the kitchen because it’s too messy, organizing your kitchen may solve more than one problem. Labels and bins will be your best friend when it comes to organizing your kitchen.
But before you begin going to town with your label maker, THROW THINGS OUT! Dig through your cabinets and fridge and throw out all those random or old items you never use.
The most basic way to organize is to create a place for everything. Instead of throwing all your items into the same cabinet, create a separate cabinet for baking items. Within that cabinet, use containers as makeshift pullout drawers. For example, label one container “Flour and sugar” and another container “Spices.” The same process can be used in your refrigerator.
Donate items that you rarely use. Even if you’re a food connoisseur, you don’t need to have 20 different pans and Tupperware containers. Keep the containers that actually have a matching lid and bring at least a quarter of your dishes, pans, and utensils to Goodwill.
Step 5: Make Your Living Room Livable
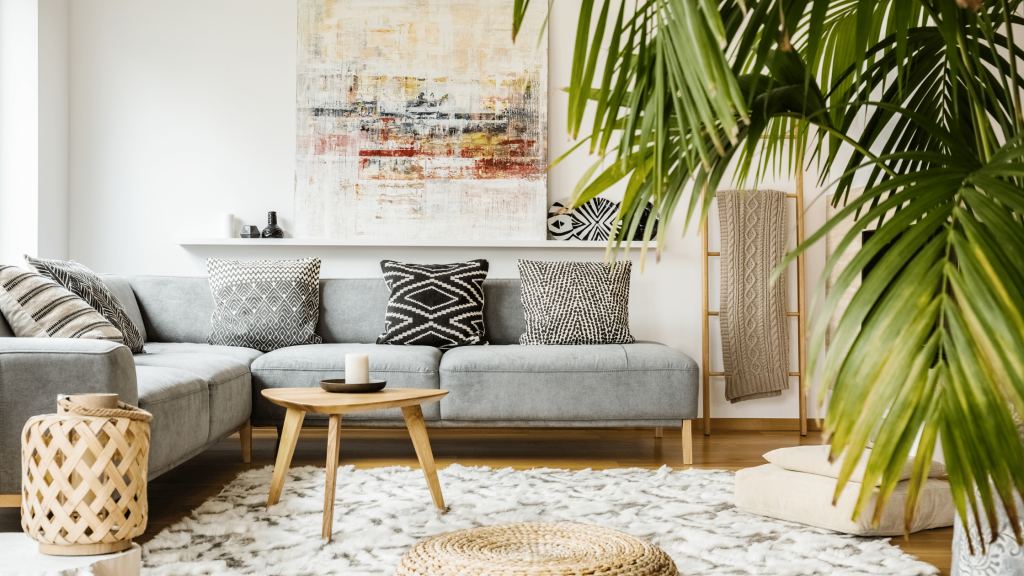
The living room should be a place where you actually want to hang out with friends and family. It should be clean, but not stiff. Begin with the coffee table. Tables are for setting a cup of tea and a bowl of popcorn. They should be kept mostly empty.
Organize your collections. If you have a large book or CD collection, consider getting rid of some items. If you can’t bear to part with them, shelves are a great solution. Add height to your shelves to save space. For example, a wall of bookshelves is a major space saver but creates a cozy feel too.
Afterward, you can create a play area or game area in your living room. Designate one corner for the kids’ toys or board games to live. This will help keep the rest of the living room clutter-free. However, toys and other items that aren’t used often should either be tossed, donated, or kept in bedrooms. The living room should also be a place to host guests. You don’t want guests to have to navigate piles of toys to reach the couch.
Step 6: Make the Bathroom Sparkle
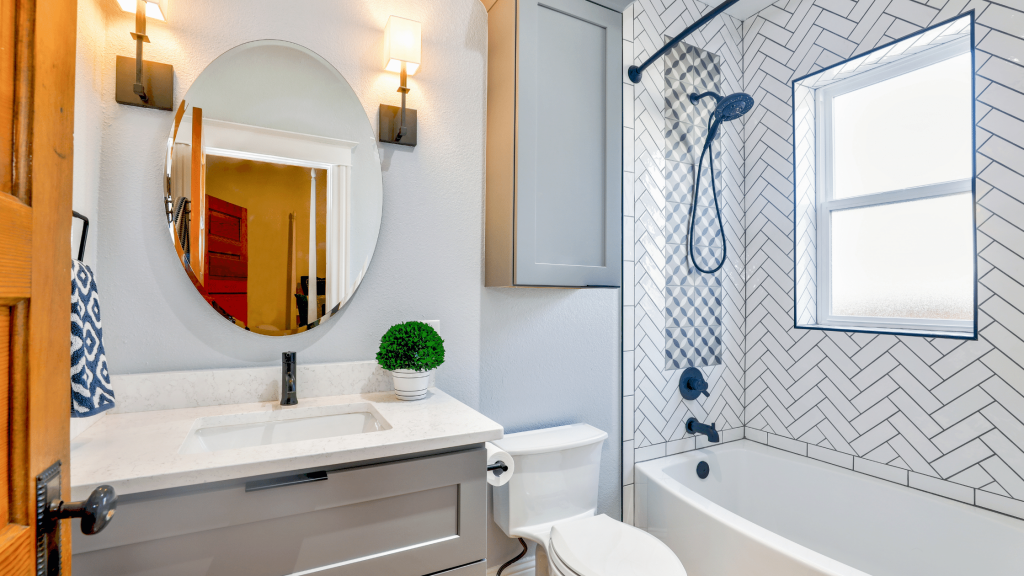
Your bathroom clutter could be masking its sparkle. Toiletries, makeup, and hair products can either be your best friend or your biggest nightmare. Some people simply can’t live without multiple beauty products. If this is the case, take advantage of the space you have. For example, vanity drawers are the best place to house beauty products. If your vanity doesn’t have drawers, consider building shelves or cabinets above it. If you have a large sink surface, displaying your items in cute mason jars or baskets is a design-friendly solution.
Make the most of the space above the toilet. If you don’t already have shelves or cabinets there, installing a few shelves is a very affordable organizing solution. This space should be used for toilet paper, towels, and extra toiletries.
Hide your cleaning supplies but make them easy to access. The best way to store cleaning supplies is in a container beneath your sink.
Step 7: Finishing Touches
You’re almost done! Step 7 is all about the finishing touches. These are tips you can use in any room in your home:
- Opt for double-duty items. For example, a firm storage bin can double as a seat by tossing a cushion or blanket on top. Same goes for footrests.
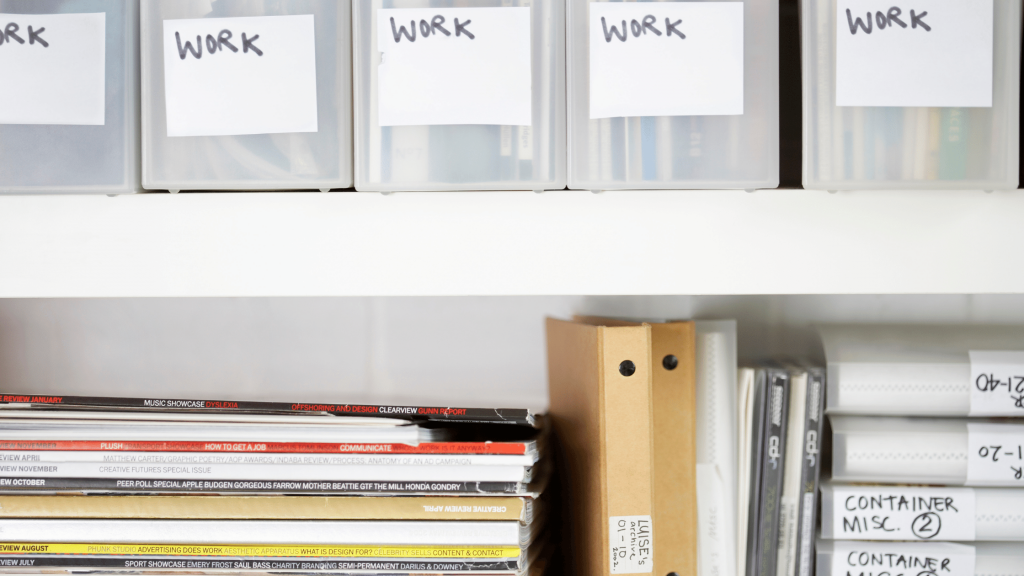
- Use bins, jars, shelves, and containers for everything. Even if you have excess clutter, simply tossing everything in a labeled container makes the room more organized.
- Use shoe racks in entryways and bedrooms. Otherwise, shoes will end up scattered all over your home.
- Use the inside doors of cupboards to save space. You can store small items such as toothbrushes and spices on the inside of cupboards doors.
- Display commonly used items in plain eyesight. Use jars to display food or bathroom items on the counter that you use daily.
- Want advice on creating creative storage? Check out this blog post!
You Did It!
Your home has now been organized! Whether it took a couple of hours or a couple of weeks, you should give yourself a pat on the back for a job well done. It’s no easy feat to organize an entire house.
Want more home-related content like this? Sign up for our bi-weekly enewsletter below to get blog articles sent right to your inbox!



Leave a Reply