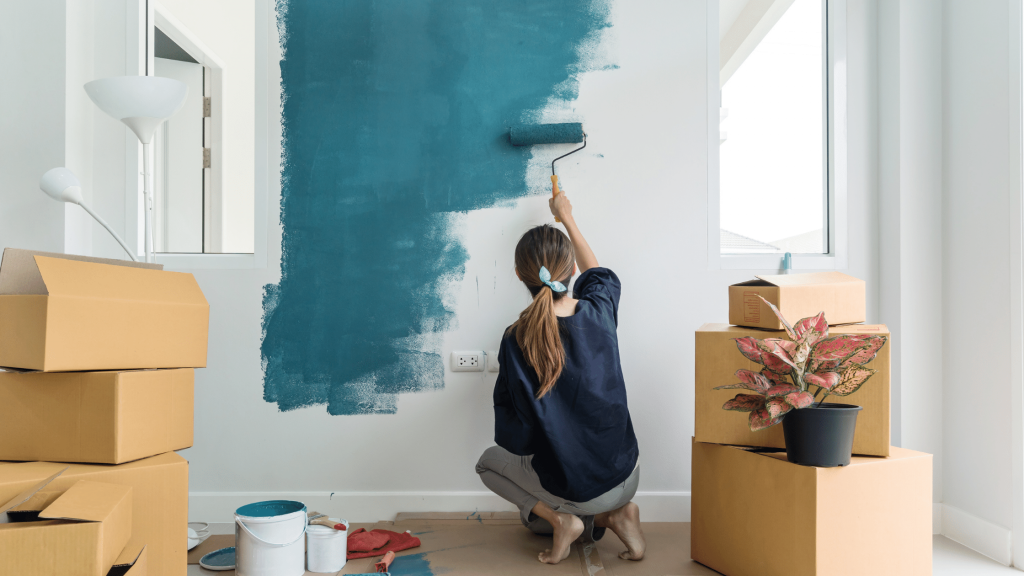
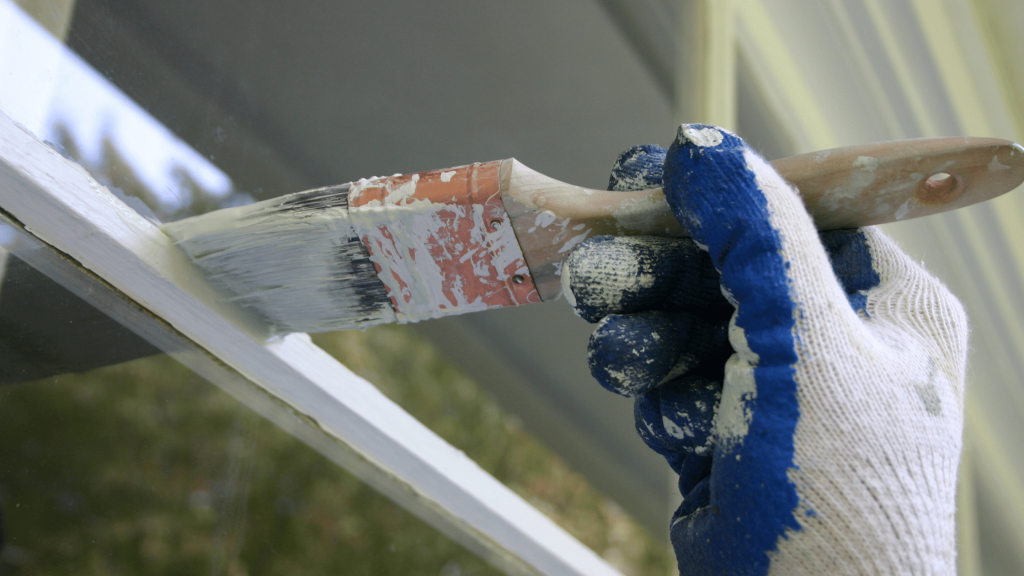
A DIY painting job doesn’t have to mean your walls need to look anything less than professional. Here are some simple painting tips and tricks to make the process faster and less messy — and ensure a gorgeous end result.
1. Brush Cleaning Hacks
Every DIY painter knows the horrors of a day-old brush with stiff bristles that makes round two nearly impossible. To prevent your brushes from becoming hard and unusable, rinse them thoroughly, then swish them in a mix of fabric softener and warm water. Use half a cup of softener to a gallon of warm water and swish for 10 seconds or so. Afterward, lay them flat or hang them on a peg for overnight storage.
Pro Tip: Looking for a deep clean so you can reuse your brush with a new color? Try soaking it in vinegar! The vinegar will break down the paint and help your brush get ready for its next job.

2. Use Plastic Wrap
When painting around a large, awkward item you want to keep clean, like a toilet or a standalone sink, surround it with plastic wrap to keep drips from destroying its finish.
For an extra tight wrap, choose a wrap with adhesive backing. Hardware stores even carry special painter’s plastic wrap that helps it stick to surfaces. This is important to prevent any stray paint drops. Once you’ve finished the job, just unwrap for a paint-free finish.
Pro Tip: Another kitchen material can come in handy. Use tinfoil in your paint trays to speed up the cleaning process. At the end of your job, you can simply throw the tinfoil away and the tray will be ready for the next time you need it.
3. Use Your Swiffer
We truly believe Swiffers are the best invention! They can be used to keep your home clean, but did you know they can also prep walls for painting? Slightly dampen your Swiffer cloth then run the Swiffer along the entire wall. This will help clear away any drywall dust, cobwebs, or other debris. Wait until the wall is dry and then you’re ready to go!
4. Vanilla is Your Friend
Paint odors can get really old really fast. So try adding a couple of drops of vanilla extract into your paint gallon. This helps reduce the smell and will help your room smell sweet. Be warned, the vanilla can ruin the paint color of lighter paints. For those, try using lemon extract instead of vanilla.

5. Repurpose Old T-Shirts as Rags
Painting’s a messy job, but using multiple rolls of paper towels is neither efficient nor environmentally-friendly. So instead of using paper towels to keep paint from splattering, why not cut up old T-shirts and use those as rags to use as rags? This trick saves money, the planet, and a trip to Goodwill.
6. Keep Q-tips Handy for Emergencies
Accidents happen and that’s why Q-tips always come in handy. It’s always good to keep some in your pocket to clean up any stray paint drops. You can also use them to touch up imperfections without having to dirty a paintbrush.
Pro Tip: For bigger spills? Clean it up as quickly as possible! Once the paint is dry it can be almost impossible to get out. Scoop spilled paint up with a putty knife and blot the stain with a wet rag. Trying to wipe the paint can just smear it around more.

7. Apply Petroleum Jelly to Places You Don’t Want Painted
Masking tape is essential for marking off large areas you don’t want to paint. However, for smaller areas like screws or hinges, you can use petroleum jelly. Apply the jelly with a Q-tip (another reason to keep them handy), and you’re good to go.
Pro Tip: Run petroleum jelly along the seals of your doors and windows. This can help prevent them from sticking.
8. Rubberband Your Paint
It may sound simple, but putting a rubber band around your paint can may save a lot of headaches. Use the rubber band to wipe any excess paint off and avoid dripping all over the place. Furthermore, this prevents dripping down the paint can and creating a mess. This will make it easier to reseal the can when you’re done.
9. Blow Dry Painter’s Tape for Easy Removal
Painter’s tape is supposed to make your paint job easier and stress-free. But when strips of perfect paint peel off along with the adhesive — or you just can’t get the darn tape to come off at all — you might feel like you wasted your effort.
To help stubborn painter’s tape get a move on, turn a hair dryer (low heat only) toward your handiwork. Holding it about three inches from the wall will help soften the adhesive and ensure an even line, making removal a stress-free affair — and ensuring you keep that dreamy, crisp paint line.

Ready to Remodel
Are you considering doing some remodeling to your home? We have referrals to a number of different professionals in the Long Beach area and we’d be happy to share them with you. If you’re remodeling with selling in mind, we’d be happy to set up a complimentary appointment and help you determine the resale value of your home based on the projects you want to take on. Or, if you’re simply looking for more DIY project ideas, here’s a good start for you:
- Shed Savvy: The Wonderful Ways To Use A Shed
- 6 Ways To Create An Attractive Home Office
- How To Build A Closet Office
- Your Guide To DIY Projects
- Home Improvement Projects You Should Leave To The Pros
Happy DIYing!


Leave a Reply